It's a good idea to first read this quick start section to understand the basic of how Keycloakify works.
However, we recommend you start hacking from the demo setup instead of setting up Keycloakify from scratch.
Save yourself some time, have quick look at the requirements page. Windows users in particular!
On the console will be printed all the instructions about how to load the generated theme in Keycloak
The first approach is to only customize the style of the default Keycloak login theme by providing your own class names.
src/index.tsx
The above snippet of code assumes you are in a react project wich only purpose is to be a Keycloak theme.
But if you want to make your keycloak theme an integral part of a preexisting React app you would apply the following modification to the above snipet:
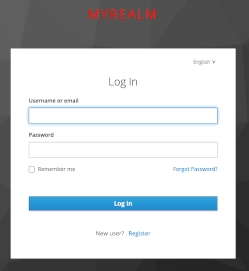
To give you an idea of what you can already achieve by only customizing the style the style,
Here is the code that produces:
The keycloakify components are a plain React translation of the default theme that comes with Keycloak v11.0.3.
You can download the FTL/CSS source files the components are based on with the following command:
npx -p keycloakify download-builtin-keycloak-theme
then select version 11.0.3 (Video demo).
If you want to go beyond only customizing the CSS you can re-implement some of the pages or even add new ones.
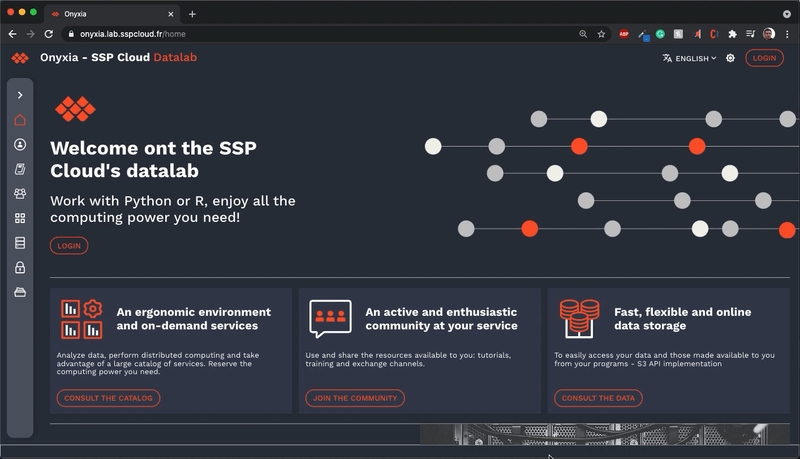
If you want to go this way checkout the demo setup provided here. If you prefer a real life example you can checkout onyxia-web's source. The web app is in production here.
See also this documentation section for more info on how to add support for extra ftl pages.
Specific instruction on how to proceed will be printed in the console with yarn keycloak.

